Showing posts with label pinterest. Show all posts

Monday, November 21, 2016

Line Dancing


Staff meetings, waiting rooms, airplane rides, talking on the phone - all perfect opportunities to doodle and play with line drawing. I love pressing my brain to create fun patterns, using my journal as my playbook. 

Some may call this Zentangle but I don't conform to any particular rules, just allowing my mind to envision pattens and willing my hand to follow through. 


One of my students stared at the blank pages of her journal saying that she didn't know where to start. I told her not to think about it too hard - just put the pen to paper and begin drawing random shapes. Once you get going with nothing particular in mind, magic happens! These shapes are then sectioned out, filled in with staight lines, circles, zig-zags, and other patterns resulting in wonderful designwork.

Alicia's doodle page

I've created several pages of patterns that I reference when doing new work. It's addictive!


Pinterest or searching the internet for doodle patterns are excellent places to get ideas from. 

Having several sizes of pen tips is a plus. This allows you to make very detailed patterns and designs. I like using Pigma micron pens because of the variety of pen tips, they are permanent ink (which is great if you want to watercolor over your images), and they last a long time. Look for these qualities in the pens you use.
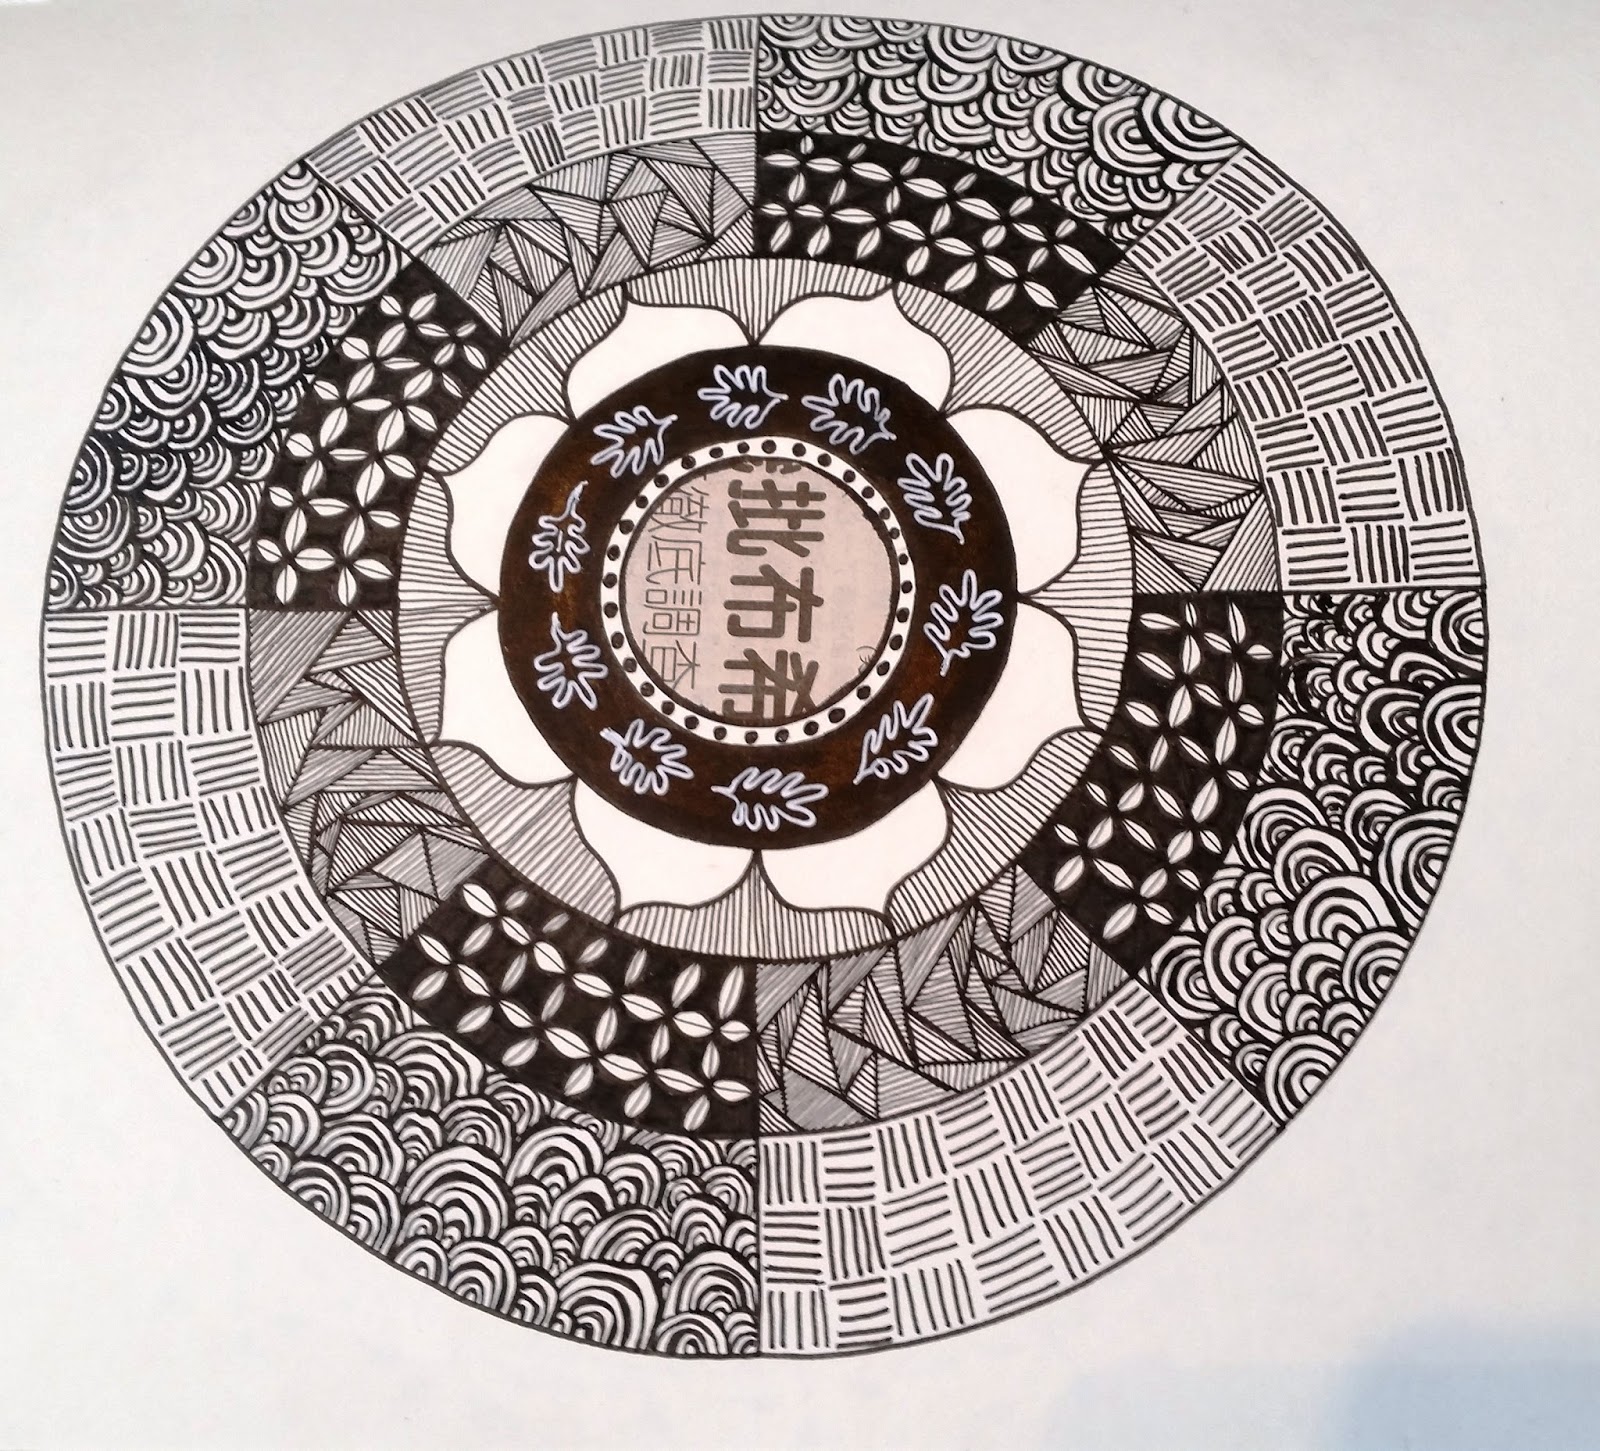


Here are more of my students' artwork - 

Donna goes wild!

Donna's creation

Sandra's lines

Marla's mandala


Open your journal, let loose your mind, and see what exciting art comes flowing out!

Monday, June 20, 2016

Shrinky Dink Butterfly Necklace


Mark Montano's Butterfly Necklace


I love making things with Shrinky Dink plastic. Never heard of it? It's a special "paper" consisting of large flexible plastic sheets which, when heated, shrink to small hard pieces without altering their color or shape. You draw, trace, or photocopy images onto the sheets, cut the images out, punch holes in them if you are making jewelry or something needing to be hung (think pet tags, wind chimes, key fob, etc.), then heat it by putting it in a toaster oven, conventional oven, or using a heat gun. This shrinks the image to about half its original size.The images retain their color and detail but in mini size. Super cool! 

These sheets can be found at most craft stores and online.


I've made bracelets, necklaces, and used them as decorations in my art journal. This is great fun for both kids and adults.
I used the photocopy shrink sheet and printed copies of some of my photographs which are now mini versions of the original!
There are plenty of tutorials on YouTube. Watch Mark Montano's butterfly necklace video where he shows how to make a fun piece of jewelry using Shrinky Dink plastic. The video includes a link to the butterfly images so that you can download the images and get busy! 

Mark Montano's link to his butterfly image sheet - ready to download!

Great things come in small packages, and it's true! Shrink your world one piece at a time!

Monday, May 16, 2016

Solar Glam In A Jar


Light up the night with this quick and easy project! With just a few supplies from a dollar store, and free energy from the sun, you can have little pots of glowing light to brighten up your garden and patio.

Supplies needed:
  • Mason jars of any size or clear glass bottles
  • Clear and colored glass marbles, stones, or strings of beads
  • Small solar lights (sold with ground stakes)


How to make these:
  • Pull the solar lights off of the stakes 
  • Fill the jars with the glass stones or beads
  • Press the solar lights into the jar of stones or beads so that the top of the lights are even with the top of the jar (you can choose to use the mason jar's screw-on ring or not)
  • Set the jars in the sun to let them soak up the light and get energized

Place these "mini lanterns" around your deck, patio, porch, or anywhere that you want a bit off nighttime glamour. You could bring the jars into the house at night so that you have soft glowing lights in a guest bathroom or bedroom as a pretty nightlight. These would make a beautiful tabletop decoration or garden feature at your next party!


Monday, March 28, 2016

Let's Make Flowers...From Q-Tips!


Let's say you find you're in the mood to make a craft project. And, you have a box of Q-tips plus a few foam balls left over from a project you never got around to making. What do you do? Make flowers, of course!

This simple and easy project is fun to make and creates a cute flower in just an hour.


Supplies needed:
  • Styrofoam balls - I used 1.5-inch, 3-inch, and 5-inch balls
  • 1 large box of Q-tips
  • Glue gun and glue sticks
  • Food coloring
  • Rubber gloves
  • A glass bowl
  • Floral stem with leaves (pop the flower off and save it for another project) or bamboo skewers


How to make them:
Cut Q-tips in half. I used about 150 halves to cover the 3-inch ball. That makes for a full looking ball but you may use fewer spaced farther apart.


  • Heat up the glue gun. When it's ready, dab a dot of glue onto the cut end of a Q-tip and poke it into the ball. You don't have to use a glue gun but I found that it helps to hold the Q-tip in the ball permanently.
  • Timesaver tip: squirt a small pool of glue onto a paper towel and dip the end of the Q-tip into the glue rather than directly from the glue gun.
  • Keep dabbing the end of each Q-tip with glue and poking it into the ball - not too close together because it will take too long to finish but not too far apart that the ball looks half done.
  • I made a single line around the ball then made a second line of Q-tips going the opposite direction so that the ball was in quarters. You don't have to be that precise - just start glueing and poking!
  • Fill in the rest of the ball with the Q-tips until it is full.

  • At this point, you can admire your "snowball" and you are done. Imagine how cute a bowl of snowballs would be!
  • If you choose to add color to the balls, get on your rubber gloves.

  • In a glass bowl, add a few drops of food coloring to a small amount of water and stir together. 
  • Dip the Q-tips into the food coloring just enough to saturate the cotton tips. Do this over the entire ball (the food coloring will stain clothing and skin so, wear the gloves and watch your shirt!)
  • Set the balls aside to dry on a plate.
Lana's sunburst flower
  • You can display these just like that as a table top display or move on to the next step.
  • Once the balls are dry, use the glue gun to put a bit of glue on to the top of the floral stem or skewer. Poke the stem or skewer into the ball deep enough to keep the ball from flopping over.

That's it! You can make a garden of these flowers in an afternoon. They would be pretty for a springtime party or shower!


Monday, March 21, 2016

Journal Pattern Play


A journal is an artists' playground! An opportunity to paint, doodle, write, layer papers, and explore new techniques. There is no limit - let your imagination take you on a journal journey!

On the pages above, I first laid down some basic squares and rectangles using watercolor paints. I kept my color choices to about 5 shades so it wouldn't be too crazy. But don't let that stop you from going with whatever moves you!

The paint dried rather quickly and I was able to move on to the really fun part - doodling. I used Sakura pigma micron pens with several tip sizes so that I could vary the design details. I love these waterproof, permanent pens but you may use any brand of permanent pens for your creation.

I played with different patterns within and around the squares and rectangles just to see what I could come up with. I liked what I made so much that I use the patterns as inspiration for design work on other pages.

Here are samples of what some of my art journaling students are working on...

Dawn Whitehead

Sandra Wolters

Sue Vanlandingham

Sandra Leonard


Aren't they a creative bunch! I am so thankful to inspire and be inspired by them.

I'd love to see what you are working on. Let's post your projects here!


Saturday, March 5, 2016

Heartfelt Wreath


Valentine's Day has come and gone but hearts are always "in season". Let me show you how to make this darling heart wreath to hang in a special spot all year long.


HEARTFELT WREATH SUPPLY LIST:
• 3/4 yards of felt – your choice of color
• 12 inch styrofoam heart wreath
• 1 box of straight pins
• Sharp fabric scissors
• Pencil
• 3” diameter cardboard or cup
• Silk/artificial leaves (optional)
• Roll of ribbon for bow (optional)


INSTRUCTIONS:
Along one edge of the felt, trace rows with the cardboard circle, close together to save fabric space, until you have about 130 circles. Cut out circles.
Time-saver: Fold the felt in half so that you can cut out 2 circles at once.


Fold one circle in half and in half again. (It looks like a fortune cookie)


Push a pin into the bottom folds of the felt and stick that into the foam wreath.

Continue folding and pinning the felt circles into the wreath, close together for a tighter look or a little farther apart for a full but not bunched look.
Optional: hot glue the pins and felt in place as you go for added security.
"Fluff" open the petals for added fullness.

Optional: Hot glue a few artificial leaves into folds of the flowers and add a ribbon bow for hanging.


Hang and enjoy your new wreath!


Saturday, February 27, 2016

My 15 Minutes of Fame!


I was recently featured in an article in the Contra Costa Times! What a thrill it was to be contacted by the journalist, Janice De Jesus, where we spent some time talking about my artwork and classes. Read the full article here: 
 http://www.contracostatimes.com/news/ci_29562548/portable-art-galleries-offer-opportunity-to-develop-skills-practice-techniques