Staff meetings, waiting rooms, airplane rides, talking on the phone - all perfect opportunities to doodle and play with line drawing. I love pressing my brain to create fun patterns, using my journal as my playbook.
Some may call this Zentangle but I don't conform to any particular rules, just allowing my mind to envision pattens and willing my hand to follow through.
One of my students stared at the blank pages of her journal saying that she didn't know where to start. I told her not to think about it too hard - just put the pen to paper and begin drawing random shapes. Once you get going with nothing particular in mind, magic happens! These shapes are then sectioned out, filled in with staight lines, circles, zig-zags, and other patterns resulting in wonderful designwork.
 |
| Alicia's doodle page |
I've created several pages of patterns that I reference when doing new work. It's addictive!
Pinterest or searching the internet for doodle patterns are excellent places to get ideas from.
Having several sizes of pen tips is a plus. This allows you to make very detailed patterns and designs. I like using Pigma micron pens because of the variety of pen tips, they are permanent ink (which is great if you want to watercolor over your images), and they last a long time. Look for these qualities in the pens you use.
Here are more of my students' artwork -
 |
| Donna goes wild! |
 |
| Donna's creation |
 |
| Sandra's lines |
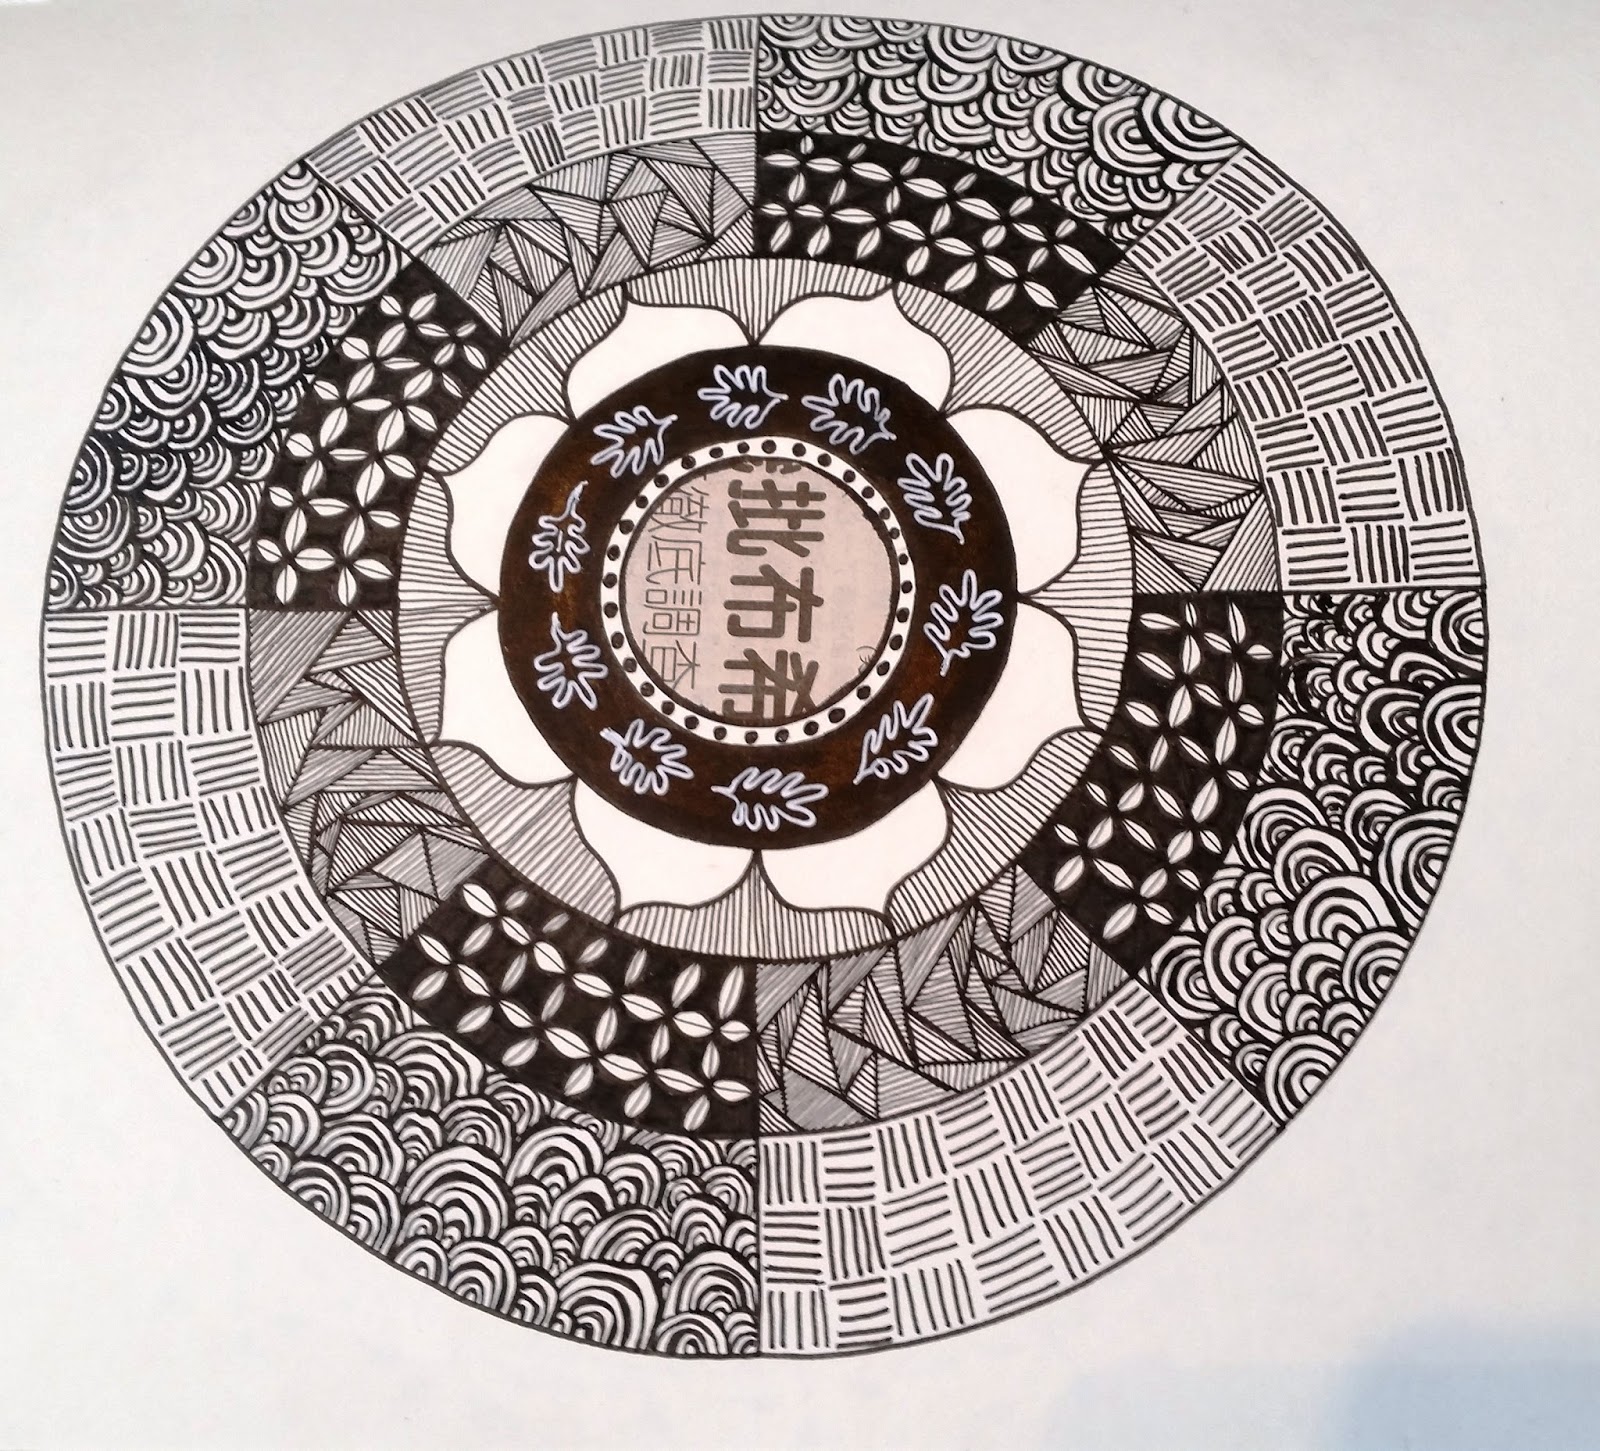
 |
| Marla's mandala |
Open your journal, let loose your mind, and see what exciting art comes flowing out!